ETUDE: Bending Sides
Here are some x-rays, many thanks to John Thomas, of one of Orville’s early guitars, built with his patented construction methods. And here is the patent... https://patents.google.com/patent/US598245A/en
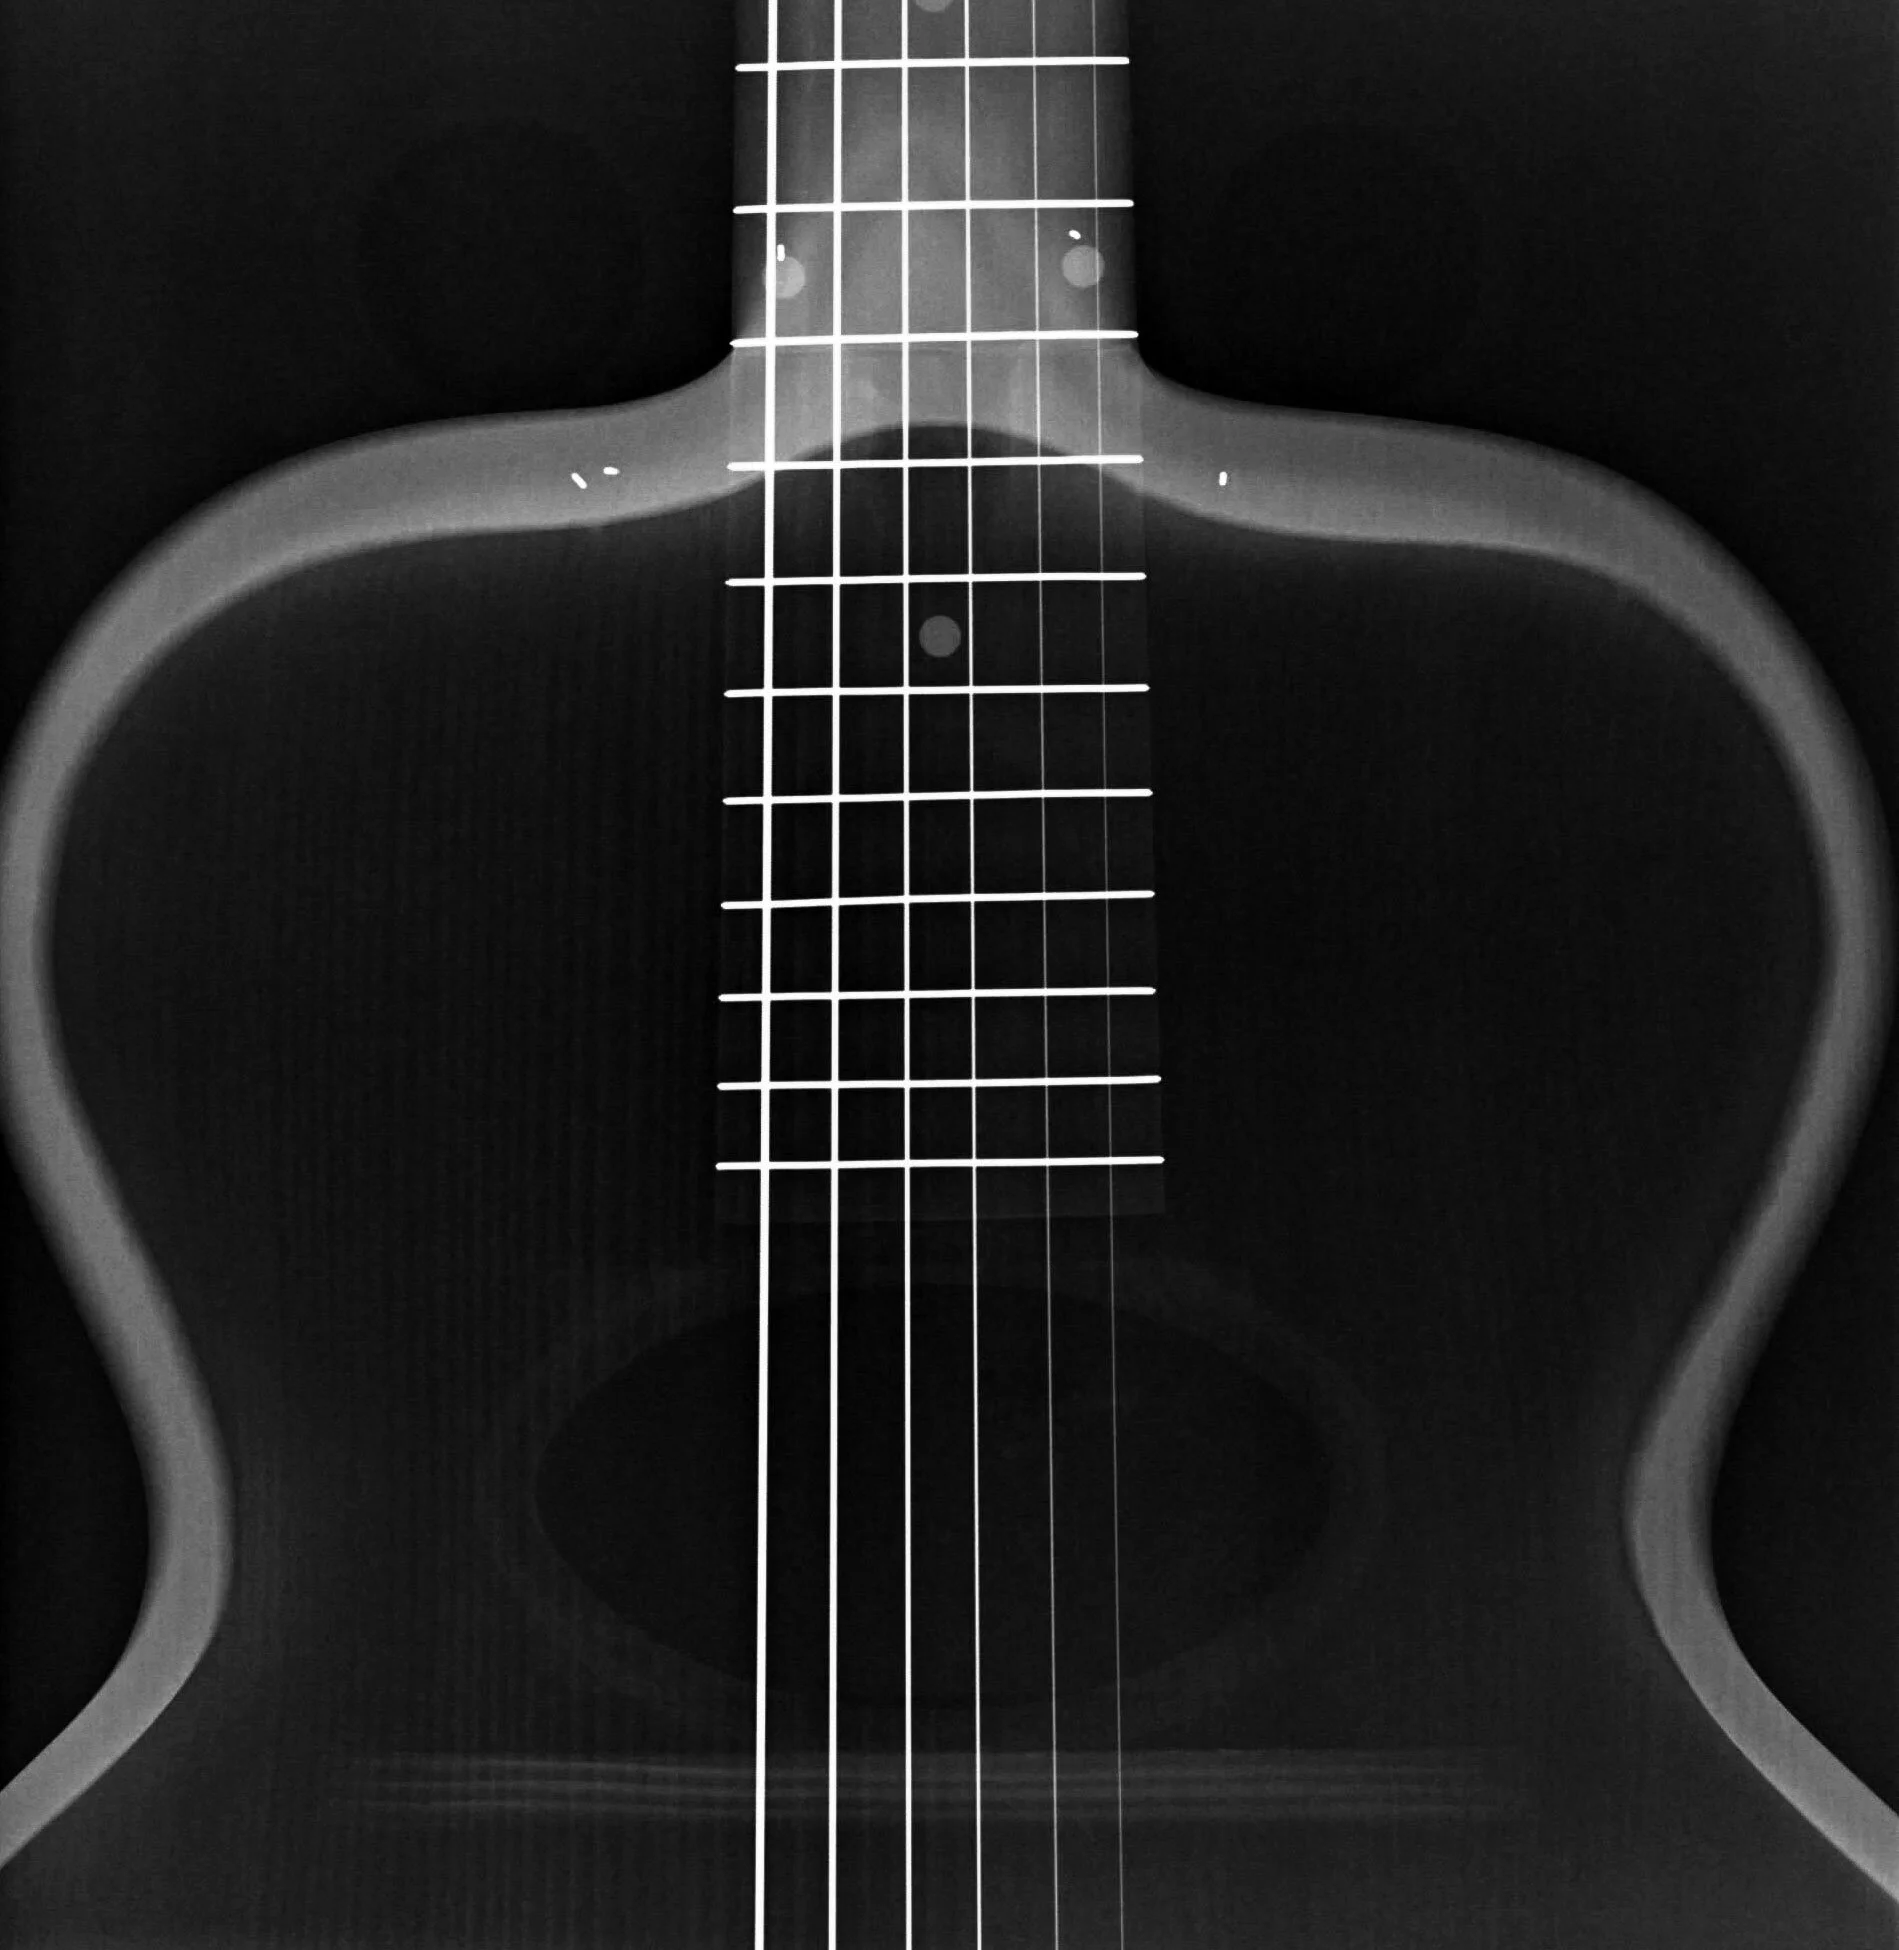


KEN: Orville Gibson’s one and only 1898 patent describes and protects his inventive method of body construction.
Orville’s driving idea was that all of the interior components glued together with bent sides to produce a traditional "Rim Assembly”, (that is, the instrument's body minus the top and back) were inhibiting the mandolin or guitar from vibrating and robbing the instrument of its power. His big idea was that minimizing the number of parts would help to make a superior instrument.
In his construction method, the sides and part of the neck were cut by bandsaw from a huge, thick board of hardwood. These "sawn sides” eliminated the need for bending wood, and, due to its substantial thickness, served to replace the linings, side reinforcements, tail block, and the neck block / neck joint.
This may have seemed like a good design, and although it does have the virtue of being a conceptually simple building process, to Orville’s vexation, it was abandoned immediately after the Gibson Mandolin and Guitar company was formed in 1902.
Orville, the gifted artisan, had hand crafted successful instruments with his unique method, however, in the Gibson factory, it was considered too clumsy, wasteful, and time consuming to be practical in production.
So, while Gibson designed his way around side bending, the rest of us are stuck with it, and bending wood is an essential part of acoustic guitar making as normally practiced.
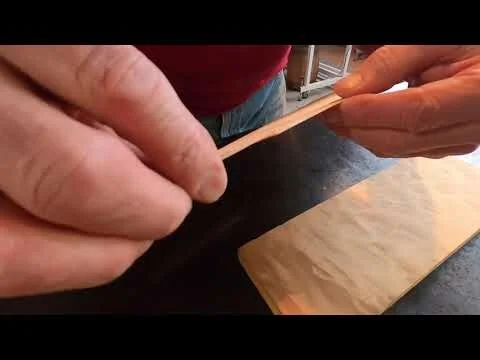
Not only are the sides bent, but also the linings, binding, and purfling.
Bending wood is always challenging, but bending figured wood, i.e. curly or blistered wood so highly prized for sides and matching backs, is especially difficult. Figured wood is in danger of short grain failure, sometimes breaking almost straight across in a classic “ tear on dotted line” catastrophic burst, and also tends to bend unevenly, with lumps and kinks where the grain turns around. Danger, Will Robinson.
Anticipating this bad behavior, it’s tempting to start with a little extra thickness, so that any distortions can be carefully sanded out after bending. Unfortunately, a little extra thickness will add significantly to the bending problems, because the stiffness of a material is proportional to the cube of the thickness. For example, this means that bending a .100”, or 2.54mm side will be experienced as eight times more difficult than bending a .050”, or 1.27mm side.
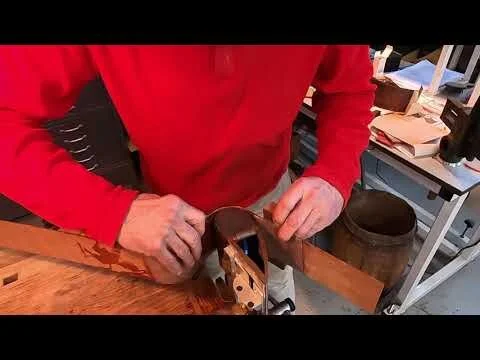
Let me suggest that best practice is to start with the desired finished thickness, plus a few percent, then bend, restrain, and gently cook the side in a precisely made, heated pinch mold, so that it can dry out and “set” in exactly the shape you design.
My experience is that wood behaves as partly thermo-plastic, and partly thermo-setting.
Translation… “There’s nothing like getting it right the first time.”
Instrument making is a very old craft, and it’s hard to do something really new, as so many skillful and inventive craftspeople have come before us, trying out all kinds of things to achieve excellence and solve problems for musicians.
Using paper or cloth to reinforce parts of musical instruments is nothing new, of course, but the method I’ll demonstrate is a new wrinkle, I think.
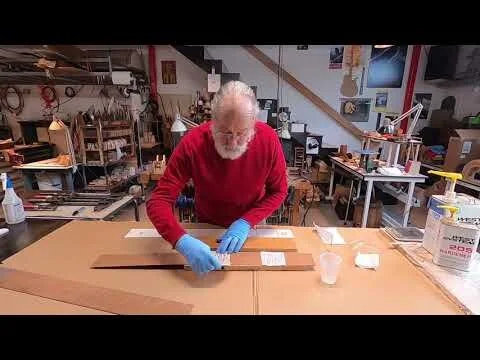
I have developed a simple way to reliably reinforce the thin side material (.050” - .060”, or 1.27 - 1.52mm) with thin linen cloth (.009”, or .23mm) in order to support the wood while bending, eliminating breakage in tension, and minimizing cross-grain distortion from the curly or blistered figure. After bending, the cloth can be thanked, and then easily removed and retired.
This has proven to work beautifully well, and I’m happy to share what i know about this now somewhat less tricky process of side bending.